
Customising and Distributing Views
Customising the Report Grid
If you have more specific requirements it is possible to customize the Report Grid to further suit your needs and return data specific to your requirements.
Adding and Removing Columns
Each Query Type comes with a set of default columns that will be displayed when you run the query. However, it may be the case that you do not require the information from certain columns or that you would like to add additional columns to display.
- Click on the Field Chooser icon in the toolbar.
The Customisation screen will appear giving you a list of customised fields that you can choose from as shown below.In this case the available fields relate specifically to Banking Details and the system.
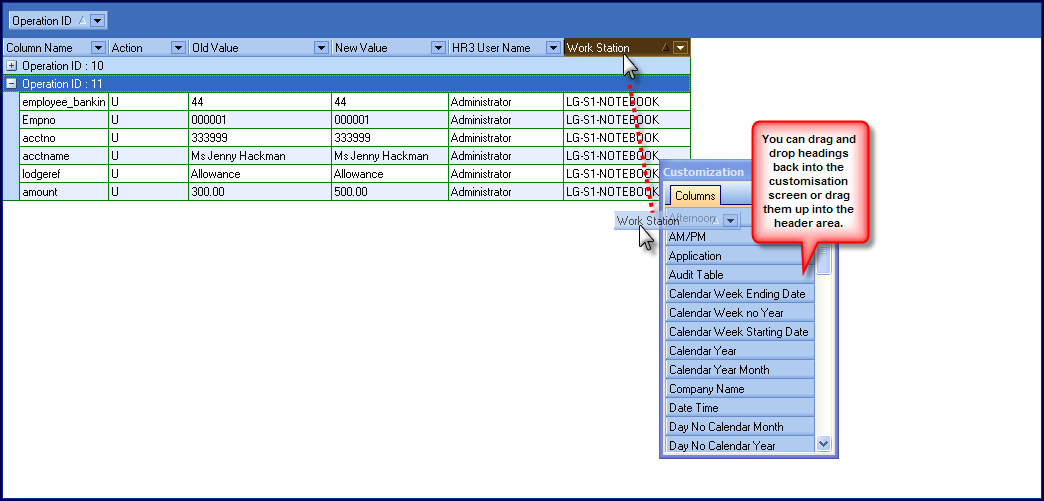
- To REMOVE columns from the report click on the column’s Header field and, holding the left mouse button down, drag it back into the Customisation screen.
- To ADD a column to the report grid, drag it up to the position that you require it in the headers. Repeat this for all the fields you wish to add.
- Click on the Run Query button.
Grouping Columns
The Query Types often have default groupings which will display in the Group Header Panel.
By default audit reports are grouped by Operation Number (This refers to the number of the change made.) However, you can add a further level of grouping if required. To do this:
- Set up and run your query.
- Click on the Field Chooser icon in the toolbar.
- Select the Header by which you want to group the data from the Customisation screen and drag it up into the Group Header Panel , positioning it at the level you want it to appear.
Customising by Right Clicking on a Header
You can customize an individual column by right clicking on its header. When you do this a menu will pop up giving you several customisation options, namely:
• Sort Ascending/Descending which allows you sort the column either alphabetically or numerically depending on the content.
• Clear Sorting which returns the data to its original order.
• Group by this field which will group the entire report by the chosen field.
• Group by Box which
• Footer which toggles the footer panel on/off
• Group Footers which groups the footer selections for comparison purposes
• Saving and Distributing Reports.
Saving and Re-using Customised Views
The Audit Explorer allows you to save the layout of a customized query for re-use at a later stage.
- Define the query and format the relevant columns, totals and grouping.
- Click the Save Current View
 button .
 - In the Save View Whereto dialog box that opens, choose one of the options. You can:
- Save the view as a new view and give it a name
- Replace an existing view by choosing the view you want to replace from the drop-down list
- Save it to an external file by browsing to the required destination.
- Click OK.
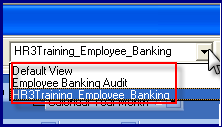
Once you have saved a view it will be available in the drop-down Views list in the toolbar as shown below.
Printing the Current View
The Audit Data Explorer has a comprehensive printing function that allows you to specify the destination printer, the page layout, margins, header or footer details or page scaling of the view. This is used to define the page set-up/layout for printed copies. As some of the query reports you define may be physically wider than one page, the Page Setup button allows you to specify the ‘Z Order’ of the printed report, either ‘Down, then over’ or ‘Over, then down’. An alternative is to use the Page Scaling (i.e. Fit to page) option. You should experiment with these settings to see which one gives you the results you desire.
Exporting the Current View
The Audit Explorer allows you to export its data to a file in the HTML, XML, TXT or XLS (MS Excel) format. When exporting, you copy data from the query into a new file to be used in another application.
- Generate the query and format the data as required.
- Click on the Export button .
- Select the desired export type from the drop-down list.
- Specify the name and destination for the exported file.
- Click Save to save the file. You will need to identify where you want the file to be saved and to name the new file.